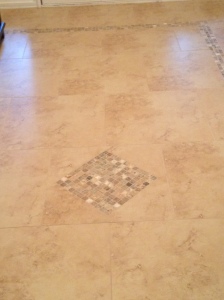
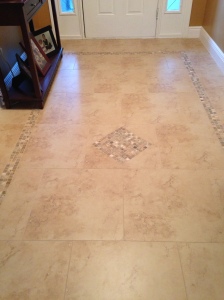
Our Very Large Tile Floor Redo
Relocating and house hunting hasn’t been an easy task by any means. I traveled an hour and forty minutes back and forth from my temp home to where I was house hunting two to three times per week. I know – crazy, right?! Did I mentioned I had the kids with me too? Wow, thinking back I realize that I was stressed, tired and under a lot of pressure to find a home before the school year started so my children wouldn’t have to change school yet again. Thankfully it all panned out.
After finding the right home, I soon realized the long road ahead of me – us – and me. Thankfully the floors were not one of them. HA!
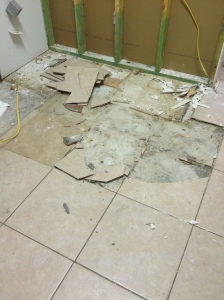
First things first, hire people to help remove the not so great tile.
Even though some tiles came up pretty easy, there was still an entire home full of stubborn tiles.
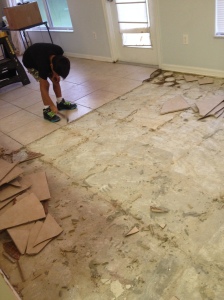
We did get a little help from my son. He’s learning young.
Were making progress but he floors are so uneven.
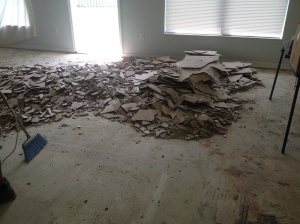
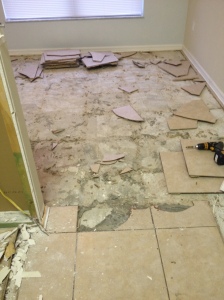
This pile is from the kitchen and some of the family room. ONLY!
Out with the tile in the laundry room.
Remember I mentioned stubborn tile? Well these tiles needed a bit more power to remove them. Poor guys. I’m just glad I didn’t have to do it.
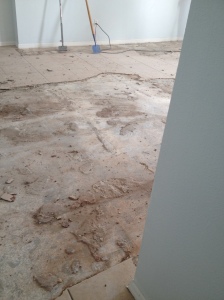
After all the tile was broken up and the floors were chiseled as smooth as we could get it, we then lugged all of it out and into a dumpster.
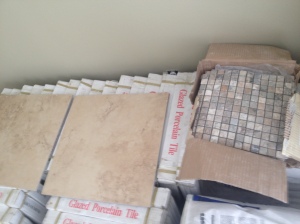
Happily we received the tile two days later. Excitement settled in.
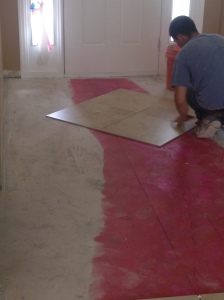
A week after that, the tile guys came and started the job. Oh Yeah!
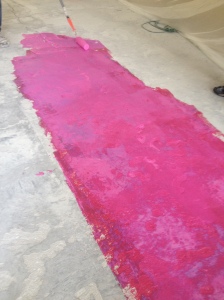
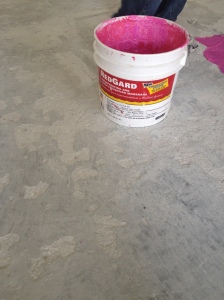
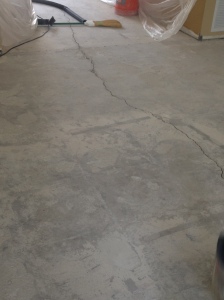
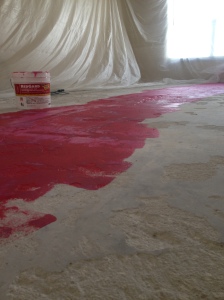
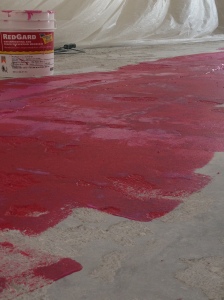
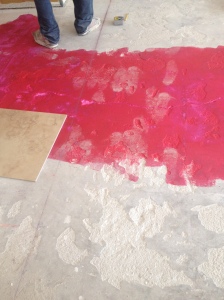
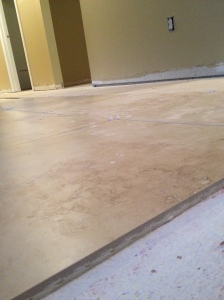
We did noticed we had a pretty significant crack on the concrete once all the tile was gone so the tile guys started to seal it which I was told was the correct way to handle this situation. Apparently, not everyone has this done and regrets come after.
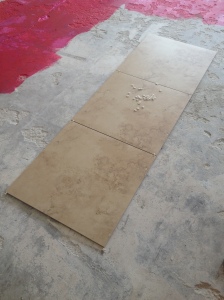
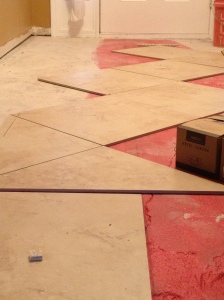
Once the sealant was dry, the tile laying planning began.
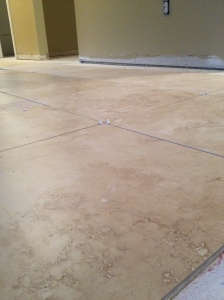
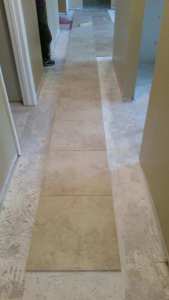
The guys have finally madesome headway and I can see how beautiful the floors are going to look!!
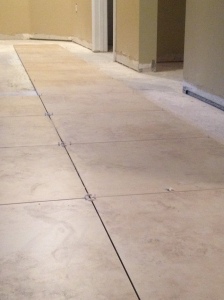
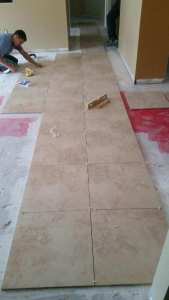
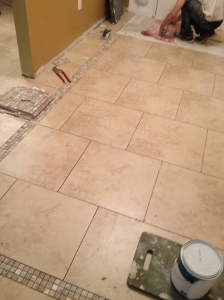
Little by little, one by one, day after day, the tiles get put down. I guarantee te floors will look fabulous.
My poor Nike’s have REALLY taken a beating with this redo. But no worries. they can easily be replaced.
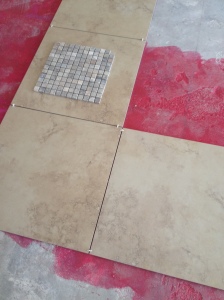
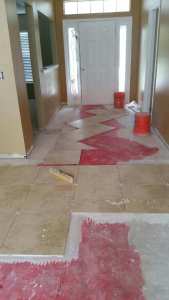
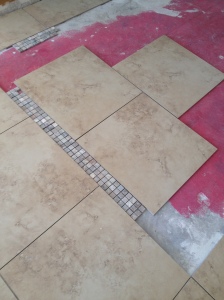
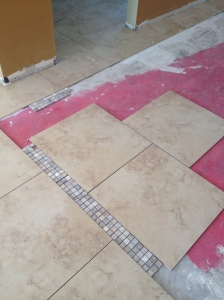
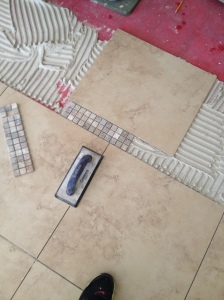
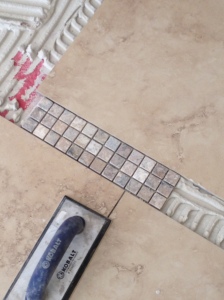
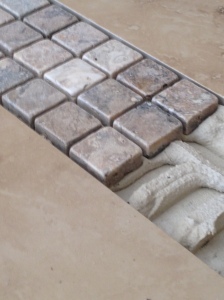
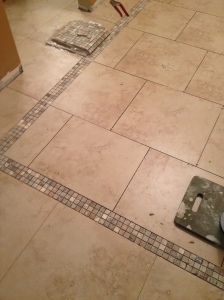
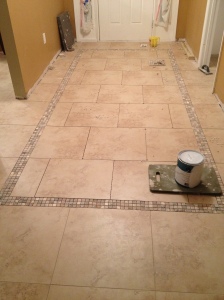
For the foyer we decided to design a different pattern and use an accent tile. We played with many ideas and love the finish product. The tile guys were very particular and wanted the foyer to come out perfectly and we appreciated that. With that being said, it was the last area to get tiled and we really just wanted the floors to be done.
How great does the tile look?! I absolutely love it!!
Uh Oh – someone tiled himself into a corner.
Oh wait, he can just open the door. Nevermind.
Done!
Or are we?
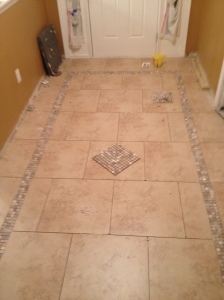
We ended up with some extra accent tile and the tile guys made an awesome suggestion.
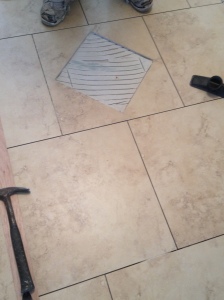
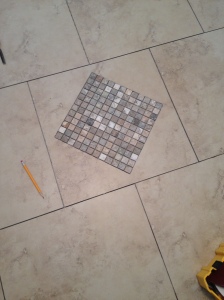
Adding a full tile sheet in the middle of the foyer in a diamond shape. Really when we see it now, it was like a no brainer. I guess that’s why they are the professionals and I am not. HA!
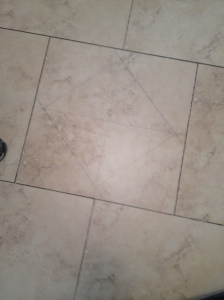
After precise measuring…
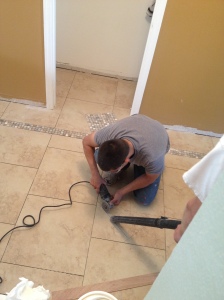
the cutting began.
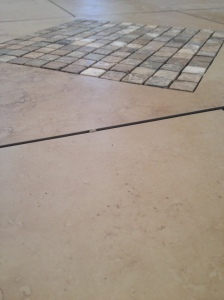
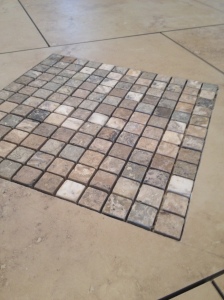
And there she is; a perfectly measured and cut out diamond.
Looks Great!! Now grout it guys and get out!
I mean-thank you guys I greatly appreciate all your hard work! :)
Filed under: DIY Projects and more, Household Adventures Tagged: DIY, floors, grout, reno, Tile, tilework, tiling
